Proper maintenance and cleaning of the automatic spray gun will extend its life. Especially when cleaning and replacing, you need to clean thoroughly and pay attention to the damage to the needle, nozzle, and air cap. Irregular cleaning processes and residues cause many paint leaks.
Here are the steps to clean and rebuild the automatic spray guns WA series.
Prepared necessary tools for cleaning and reassembling
1. Equipped brush
2. 19mm and universal Wrenches
3. Air blow gun
4. Rosin water
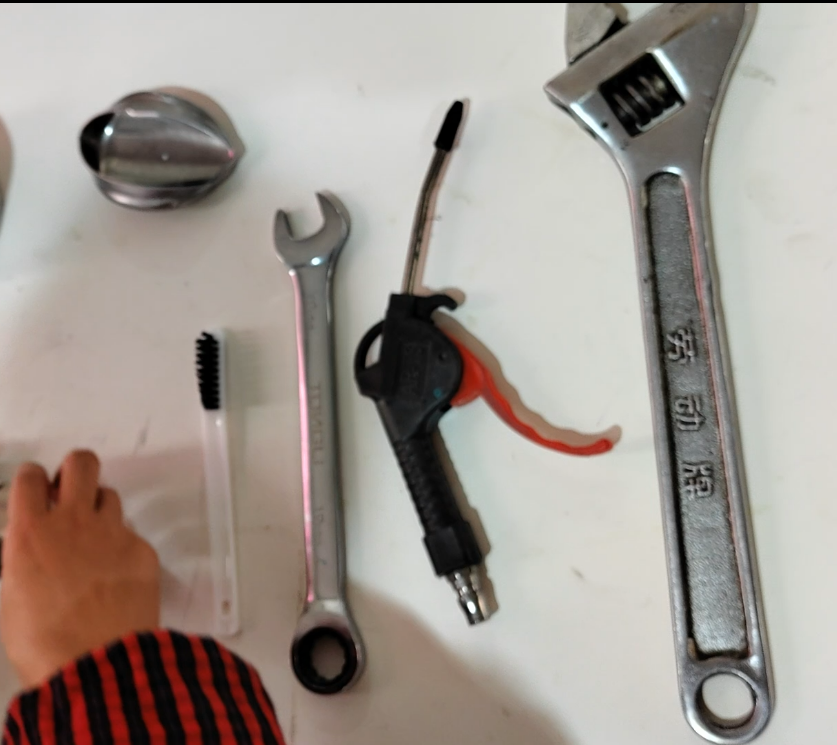
How to clean
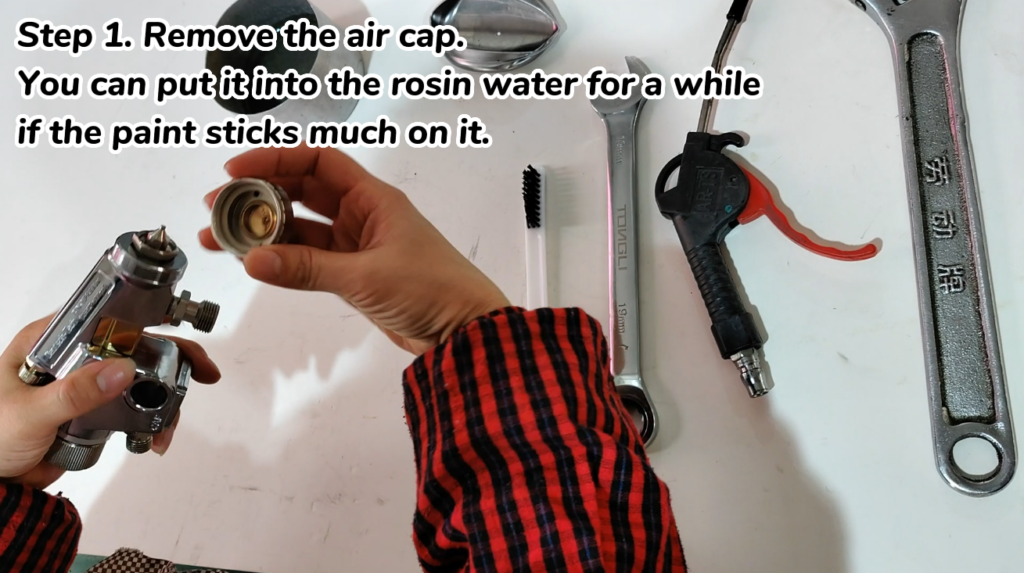
Step 1. Remove the air cap. You can put it into the rosin water for a while if the paint sticks much on it.
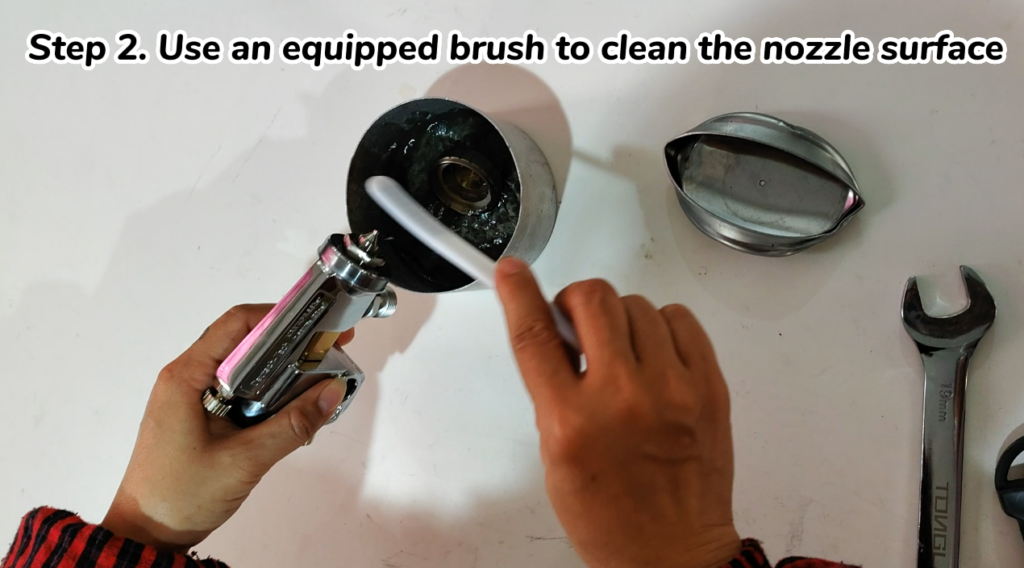
Step 2. Use an equipped brush to clean the nozzle surface
Step 3. Remove the cover, and release the fluid adj. knob. Please note the knob MUST be released. Otherwise, the nozzle will be damaged.

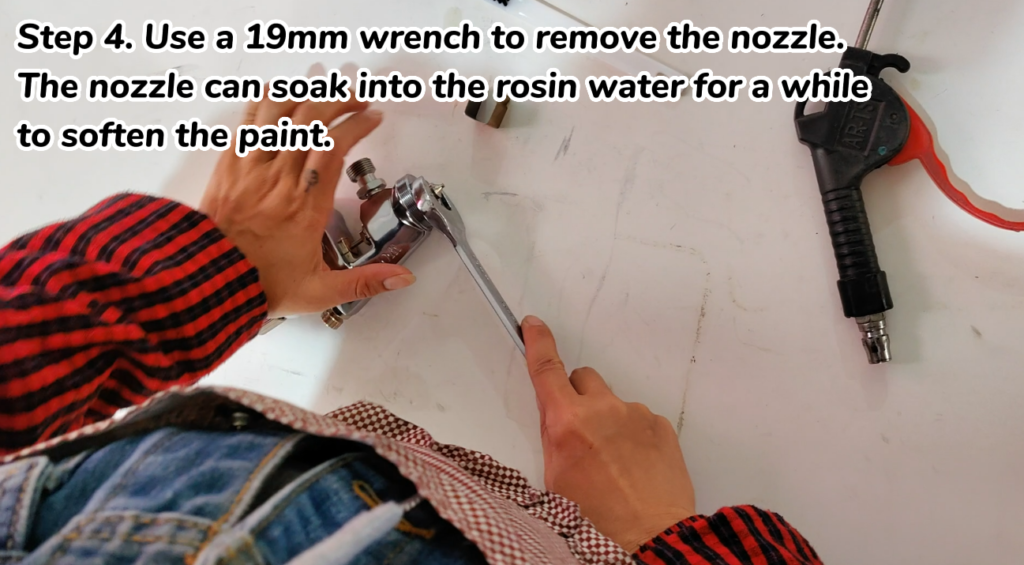
Step 4. Use a 19mm wrench to remove the nozzle. The nozzle can soak into the rosin water for a while to soften the paint.
Step 5. Use a universal wrench to release the fluid adj. knob, then remove all fluid adj. set.

Step 6. Remove the needle, and clean the surface. Please note the needle cannot be put into the rosin water. The fluid needle seat at the end will be damaged.

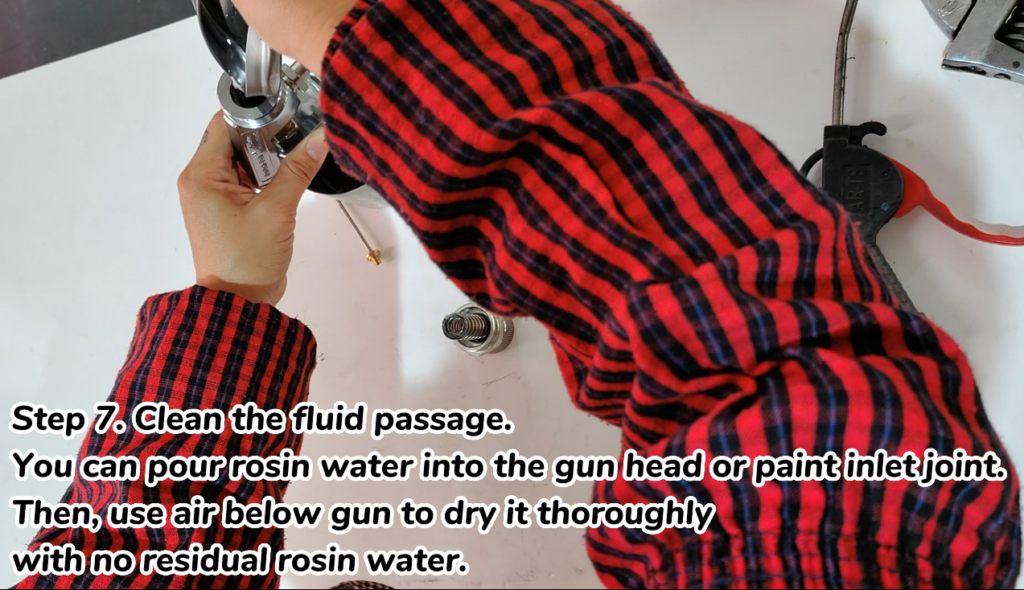
Step 7. Clean the fluid passage. You can pour rosin water into the gun head or paint inlet joint. Then, use air below gun to dry it thoroughly with no residual rosin water.
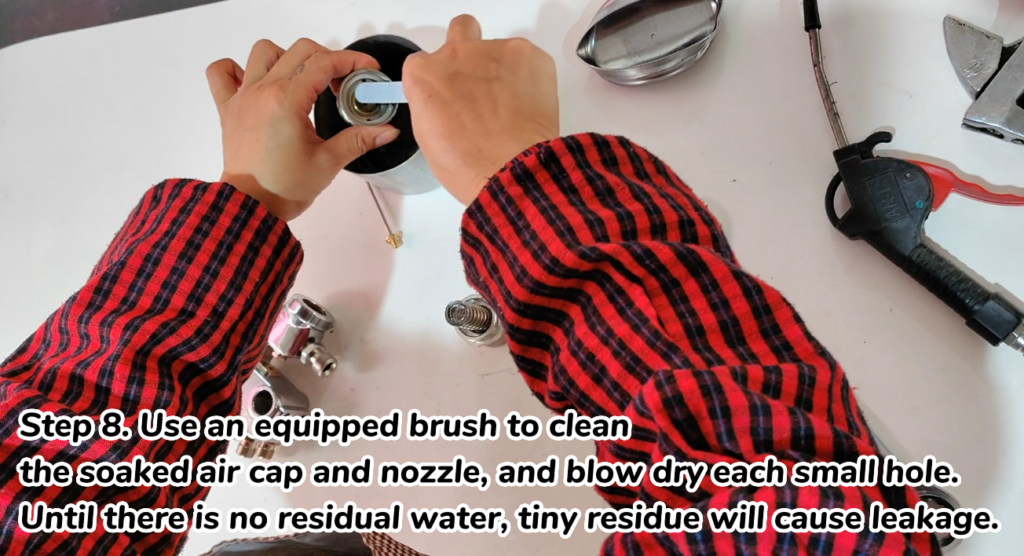
Step 8. Use an equipped brush to clean the soaked air cap and nozzle, and blow dry each small hole. Until there is no residual water, tiny residue will cause leakage.
How to reassemble
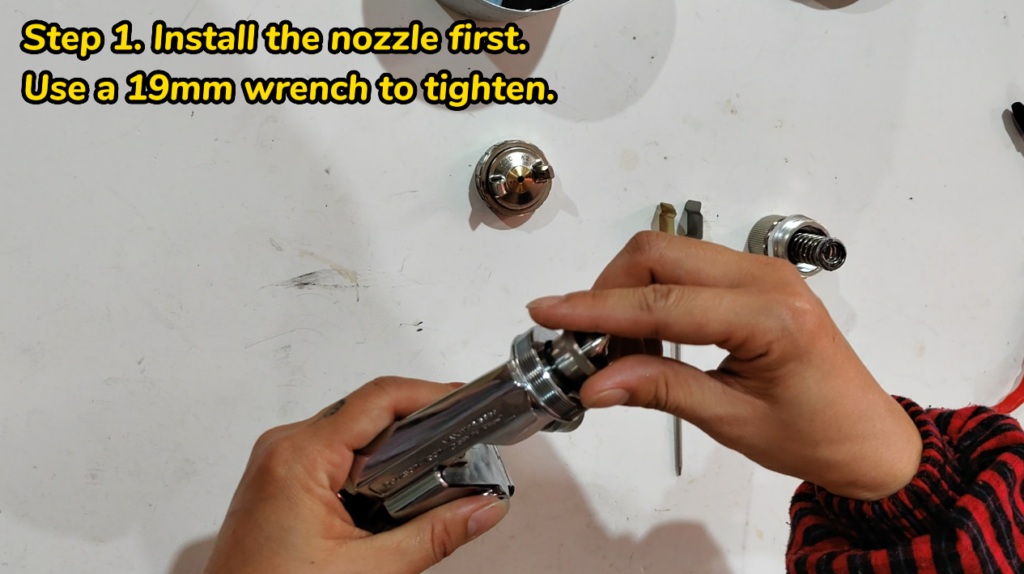
Step 1. Install the nozzle first. Use a 19mm wrench to tighten.
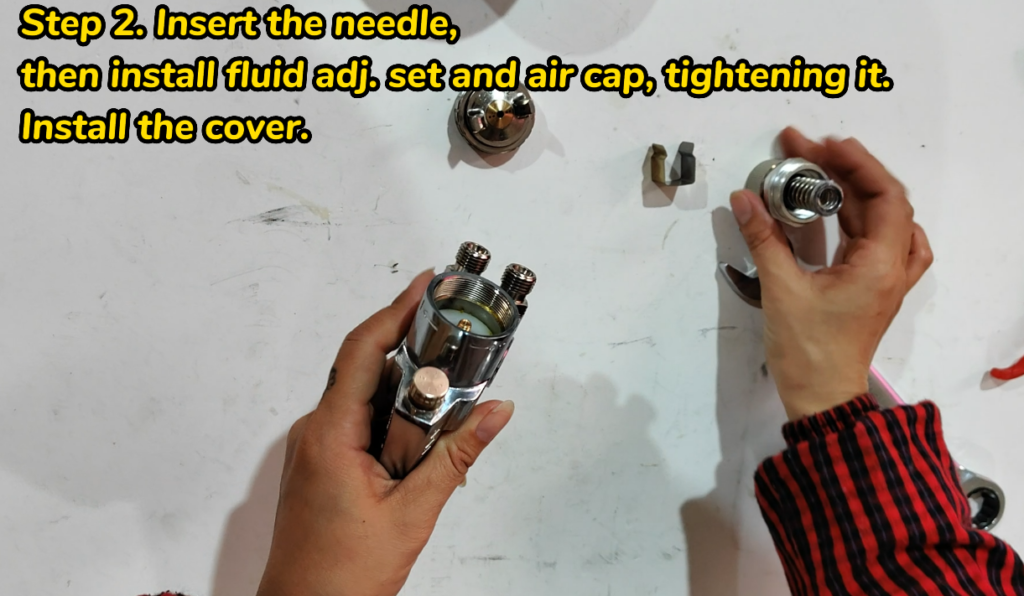
Step 2. Insert the needle, then install fluid adj. set and air cap, tightening it. Install the cover.
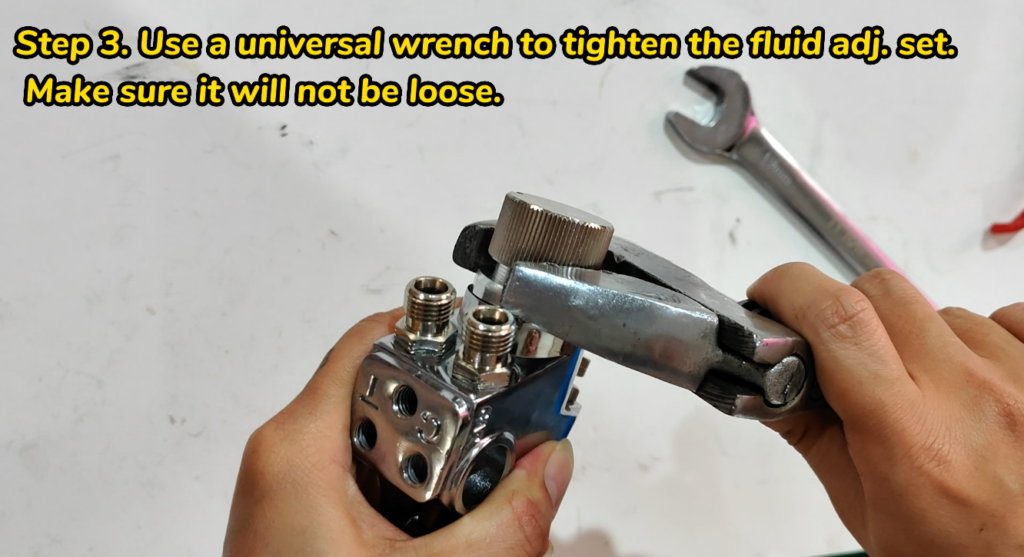
Step 3. Use a universal wrench to tighten the fluid adj. set. Make sure it will not be loose.
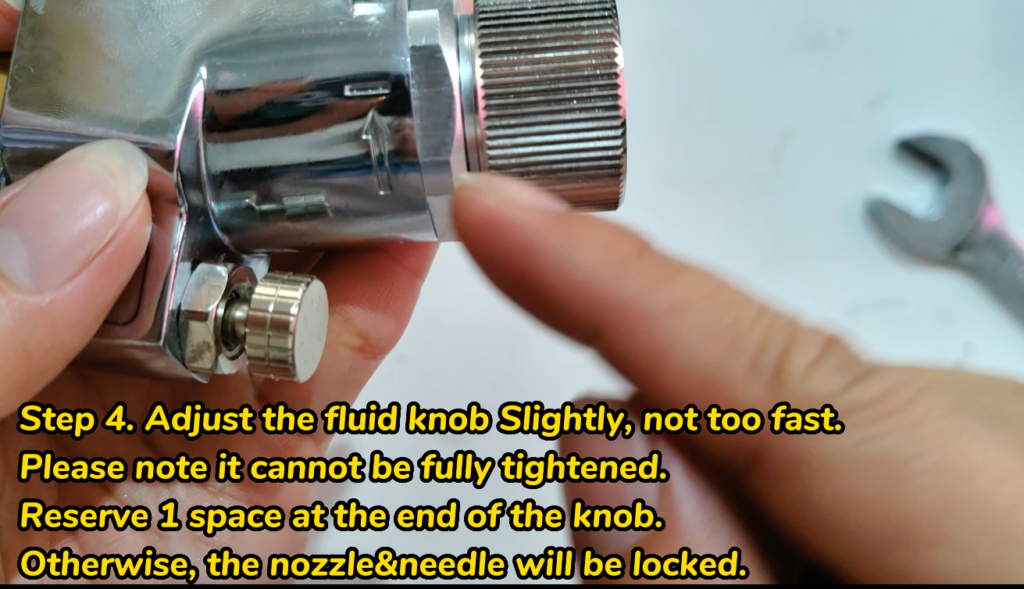
Step 4. Adjust the fluid knob Slightly, not too fast. Please note it cannot be fully tightened. Reserve 1 space at the end of the knob.
You can find the whole video on our Youtube Channel: ChaoTian Pneumatic Tools


